Transforming your shed into a year-round workspace, gym, or hobby room starts with two things: Insulation and Ventilation. While insulation keeps the temperature steady, ventilation is the "secret ingredient" that prevents dampness and keeps the air fresh.
Why Insulate and Ventilate?
Year-Round Use: Stay warm in the winter and cool in the summer.
Protect Your Gear: Prevent rust on tools and damage to electronics.
Stop Damp & Mould: Proper airflow stops condensation from building up.
Noise Reduction: Thick insulation helps block out garden noise (and keeps yours in!).
Step 1: Seal the Gaps (Preparation)
Before adding insulation, you must ensure your shed is watertight.
Check the Roof: Look for any tears in the felt.
Seal Windows & Doors: Use a high-quality silicone sealant or "caulk" to fill any small gaps around frames.
Inspect the Wood: Replace any rotten or damaged panels before you start.
Step 2: Choose Your Insulation Material
There is no "one-size-fits-all" for insulation. Choose the one that fits your budget and needs:
| Material | Best For... | Why Choose It? |
|---|---|---|
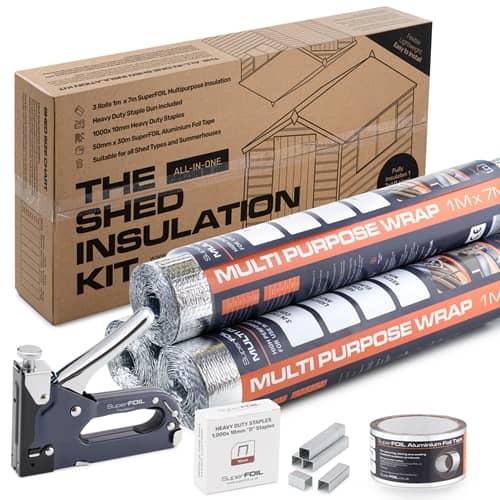
| Bubble Wrap / Foil | Budget-friendly & DIY | Cheap and very easy to install; great for simple storage. |
| PIR Boards (e.g. Celotex) | High Performance | The "pro" choice. Excellent heat retention and easy to cut. |
| Rockwool / Mineral Wool | Soundproofing | Great for home offices or music rooms. Also helps with humidity. |
| Reclaimed Wood | The Eco-Friendly Look | Using old pallet boards over insulation gives a rustic, finished look. |
Step 3: How to Insulate (Floor, Walls, & Roof)
1. The Floor (Best done during assembly)
Don't skip this! A lot of cold air rises from the ground.
What you need: Breathable membrane and PIR boards or a roll of old carpet.
How-to: Lay a moisture-proof membrane over the joists, then fit your insulation boards tightly between them before laying your floorboards.
2. The Walls
What you need: Insulation material, a staple gun, and "finish" boards (like MDF or Plywood).
-
How-to: 1. Staple a breathable membrane to the inside of the wall panels.
2. Fit your insulation (Rockwool or PIR) into the gaps between the timber studs.
3. Tack your finish boards (MDF or Plywood) over the top for a clean, professional look.
3. The Roof
Important: Always leave a 2-inch (50mm) gap between the insulation and the roof felt.
How-to: Cut your insulation to size and push it between the roof rafters. Secure it with thin timber batons or your finish boards. Leaving that air gap is vital to prevent rot!
Step 4: Don't Forget Ventilation!
Insulating a shed without ventilating it is like putting a lid on a boiling pot—moisture will get trapped.
Passive Ventilation (Free & Easy)
Wall Vents: Install two small mesh vents high up on opposite walls. This creates "cross-ventilation" where fresh air flows in and stale air flows out.
Door Gaps: If your shed door has a small gap at the bottom, don't seal it completely—it acts as a natural air intake.
Active Ventilation (For Heavy Use)
Solar Fans: A great eco-friendly option that pulls hot air out during the day.
Whirlybirds: These wind-powered turbines sit on the roof and suck out moisture constantly without needing electricity.
Maintenance Tips for a Healthy Shed
Airing Out: On dry, sunny days, leave the door and windows open for 20 minutes to refresh the air.
Annual Check: Once a year, peek behind a corner of your insulation to check for any signs of damp or pests.
Pest Control: Ensure your vents have mesh covers to keep out uninvited guests like mice or spiders!
Need more help? Our team is here to help you choose the right materials for your Tiger Shed. Contact us here or browse our Insulation Kits.